PayTraq Inbox is a dedicated email address for receiving incoming documents.
Any email with an attached file sent to this email address will be automatically appeared in your Inbox. You can redirect emails with invoices and receipts received from your suppliers to this email address, as well as ask your suppliers to sent their documents directly to this email. Or for example, take pictures of receipts related to your business expenses with your mobile phone and send the pictures to this email. It’s simple! Add the address to your contact list and use it for sending any of your expenses-related documents. You can also use PayTraq Mobile app for that.
Messages with the following files formats are supported by Inbox: JPG, PNG, PDF, DOC, DOCX, EDOC, XLS, XLSX, ODT, ODS, ZIP. Preview is available for JPG, PNG, PDF.
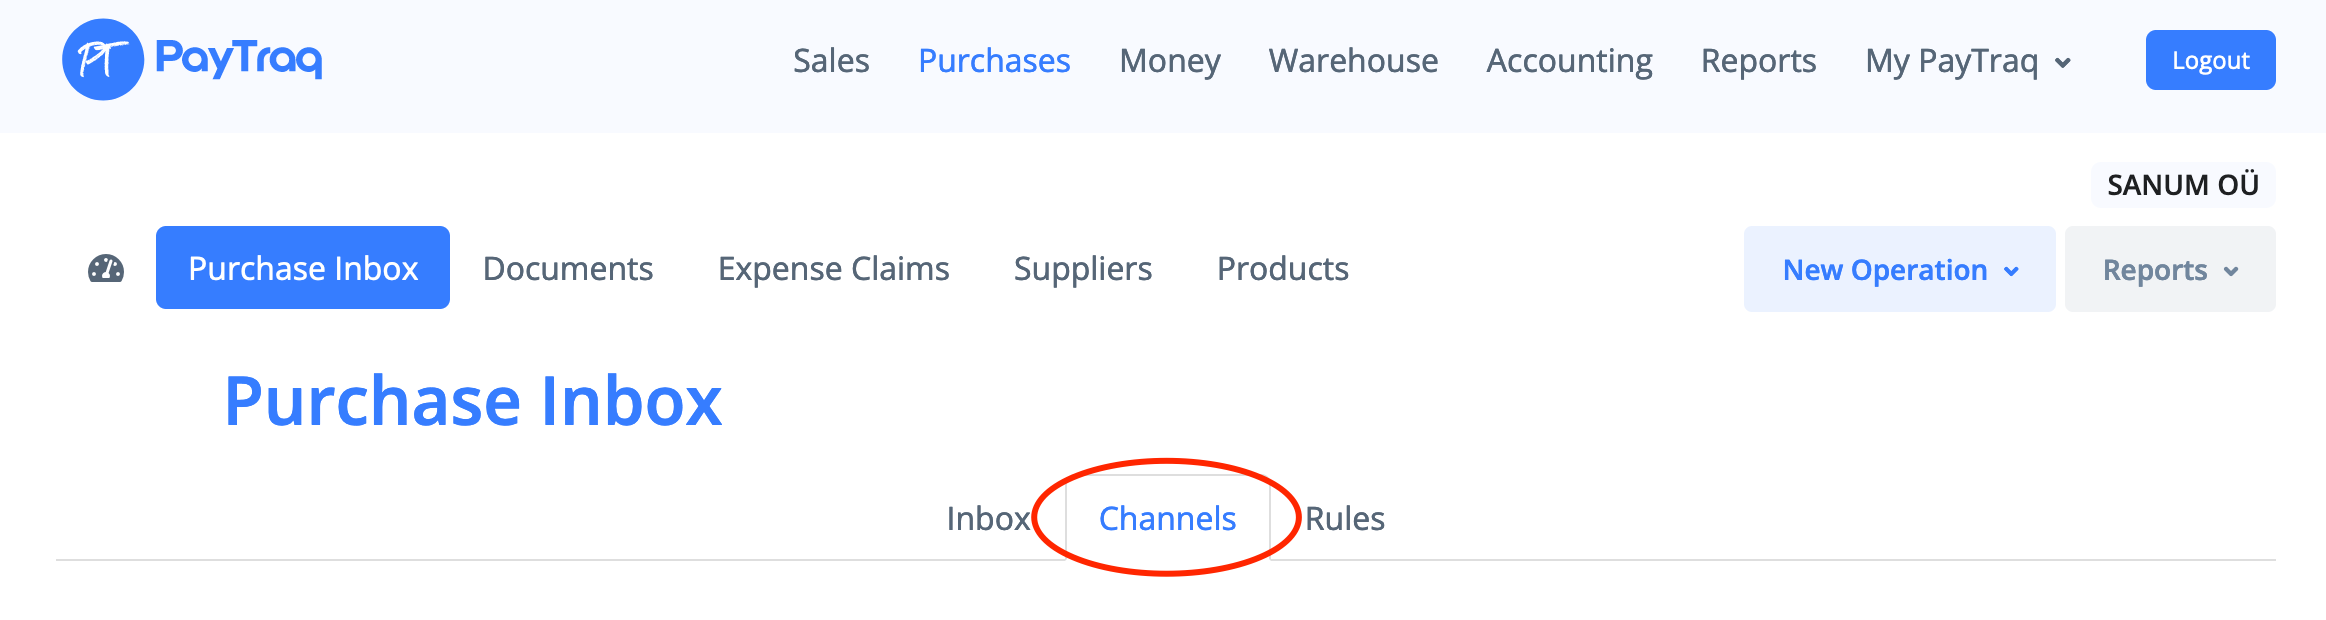
For activation go to Purchases -> Purchase Inbox -> Channels
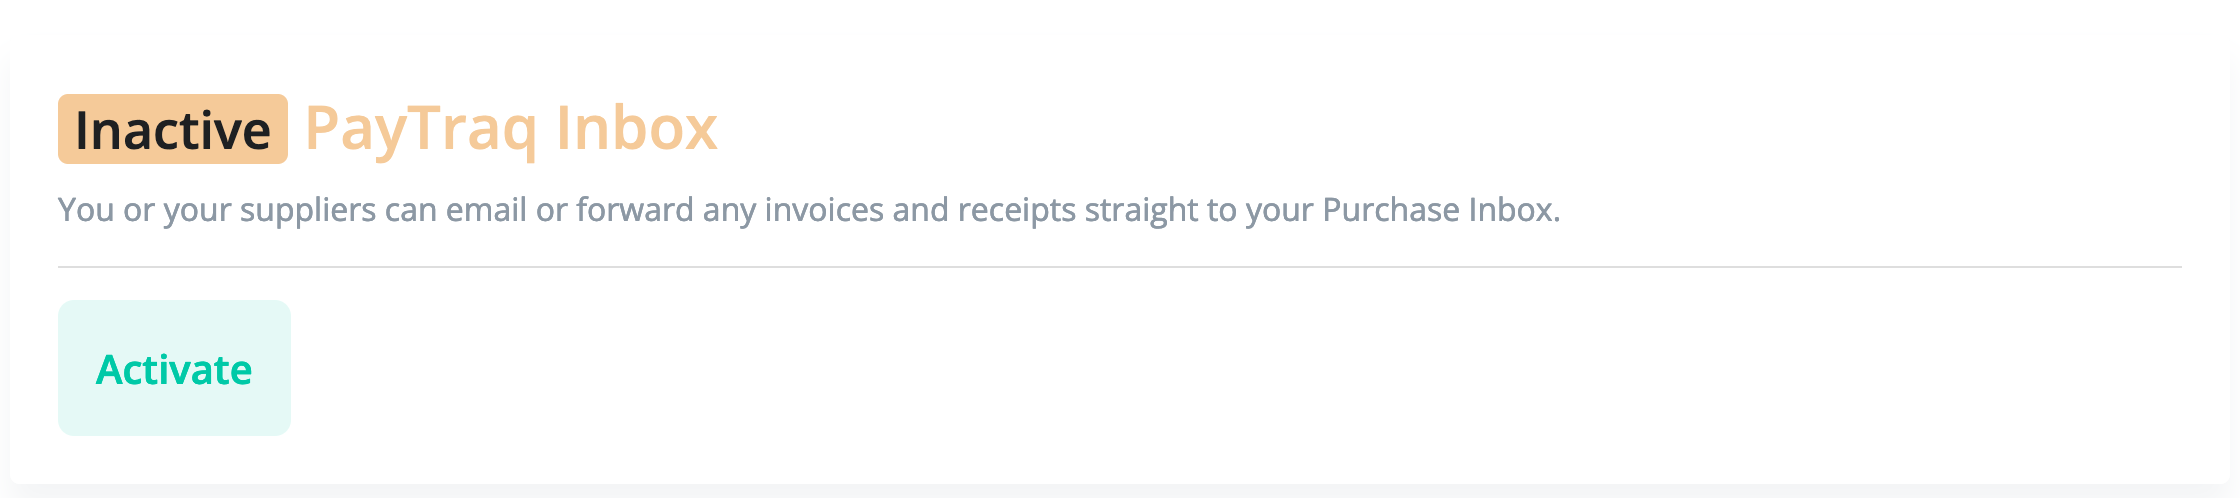
Activate PayTraq Inbox channel
You will get a dedicated email address that will look like this one - channel.012345@inbox.paytraq.com.
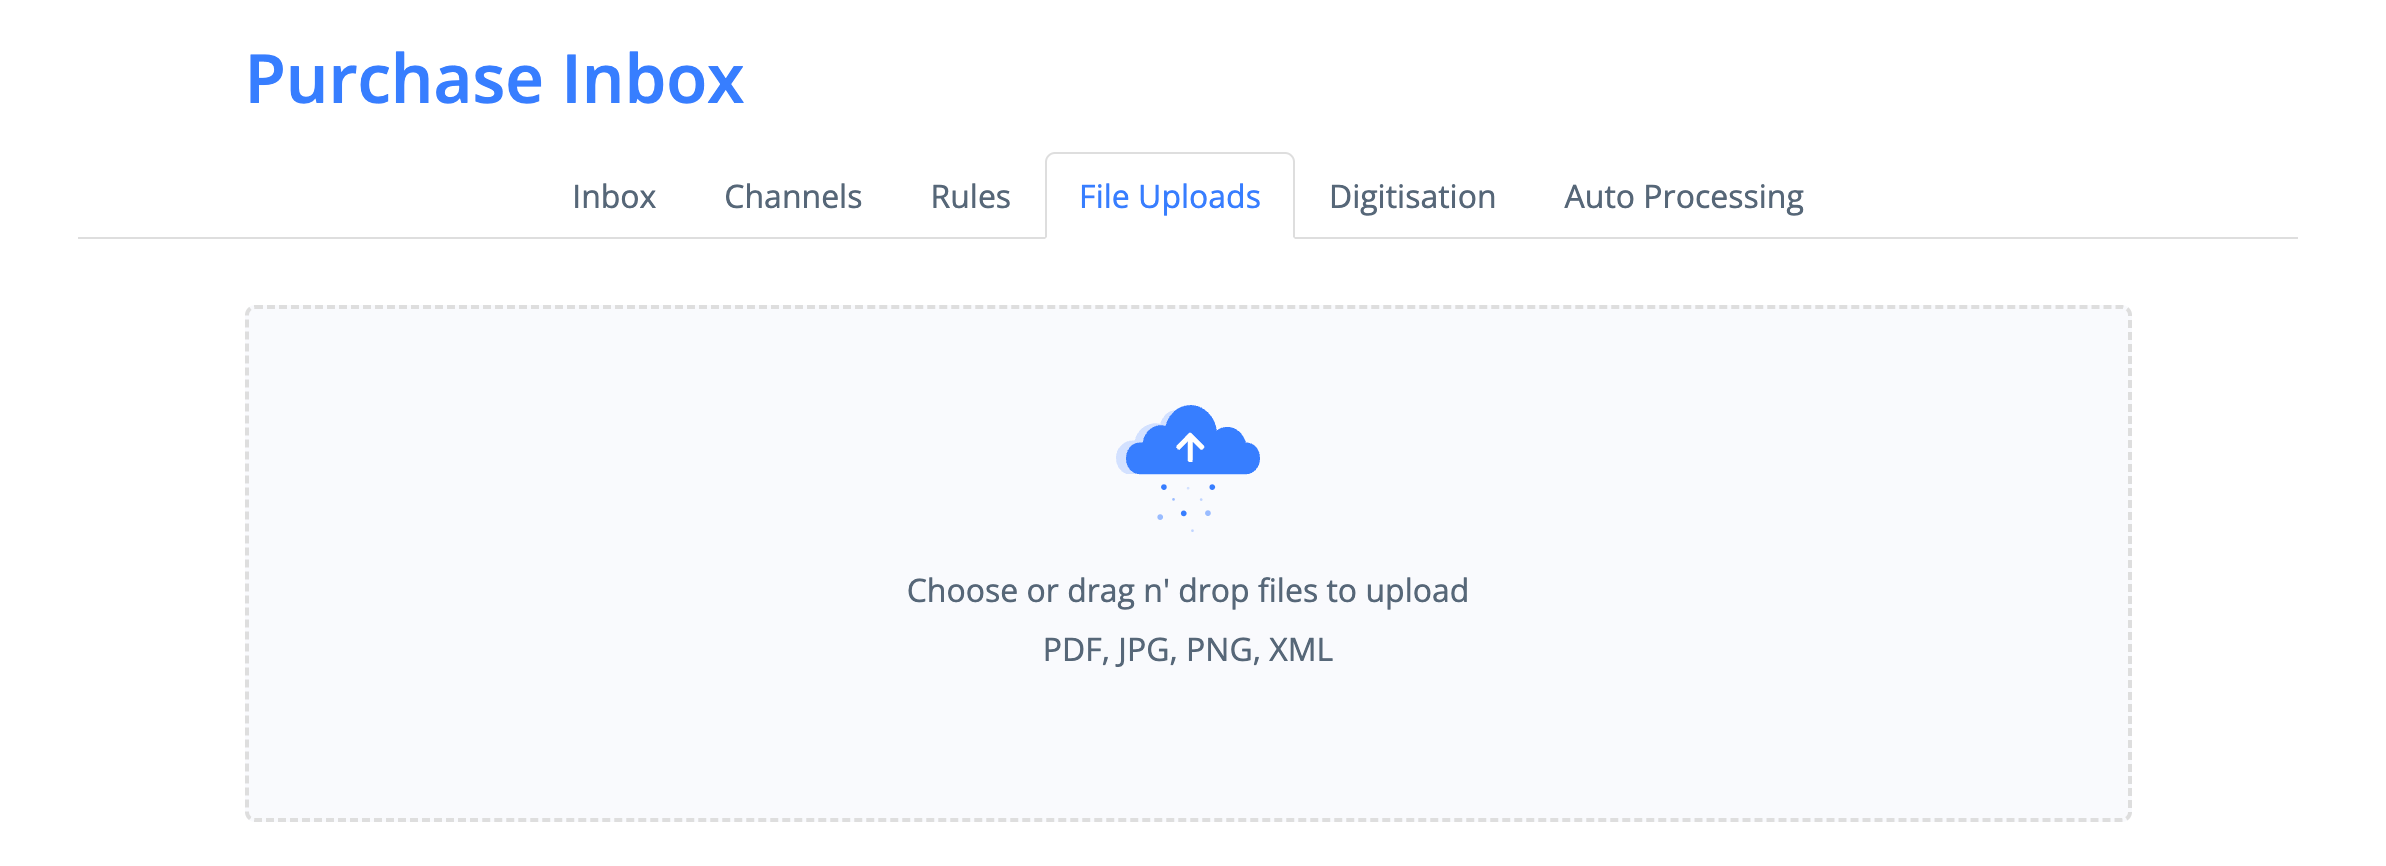
Files can be also uploaded through Purchases -> Purchase Inbox -> File Uploads
Digitisation
To digitize incoming documents, you can utilize the integrated digitisation service, which can be activated through Purchases -> Purchase Inbox -> Digitisation.

Once activated, the system will automatically recognize the following information in the documents received in the Purchases Inbox (PDF, JPG and PNG types are supported):
- Document number;
- Document date;
- Total amount and currency;
- Supplier.
If the supplier has not yet been entered into the system, it will be added automatically. For suppliers from Lithuania, Latvia, or Estonia, additional data such as address and registration number will be recorded on the supplier's profile.
Auto-complete Rules
Auto-complete rules can be defined to simplify and speed up further processing of the data contained in the documents. Rules are used to automatically complete the form with predefined values.
You can define as many rules as you need.
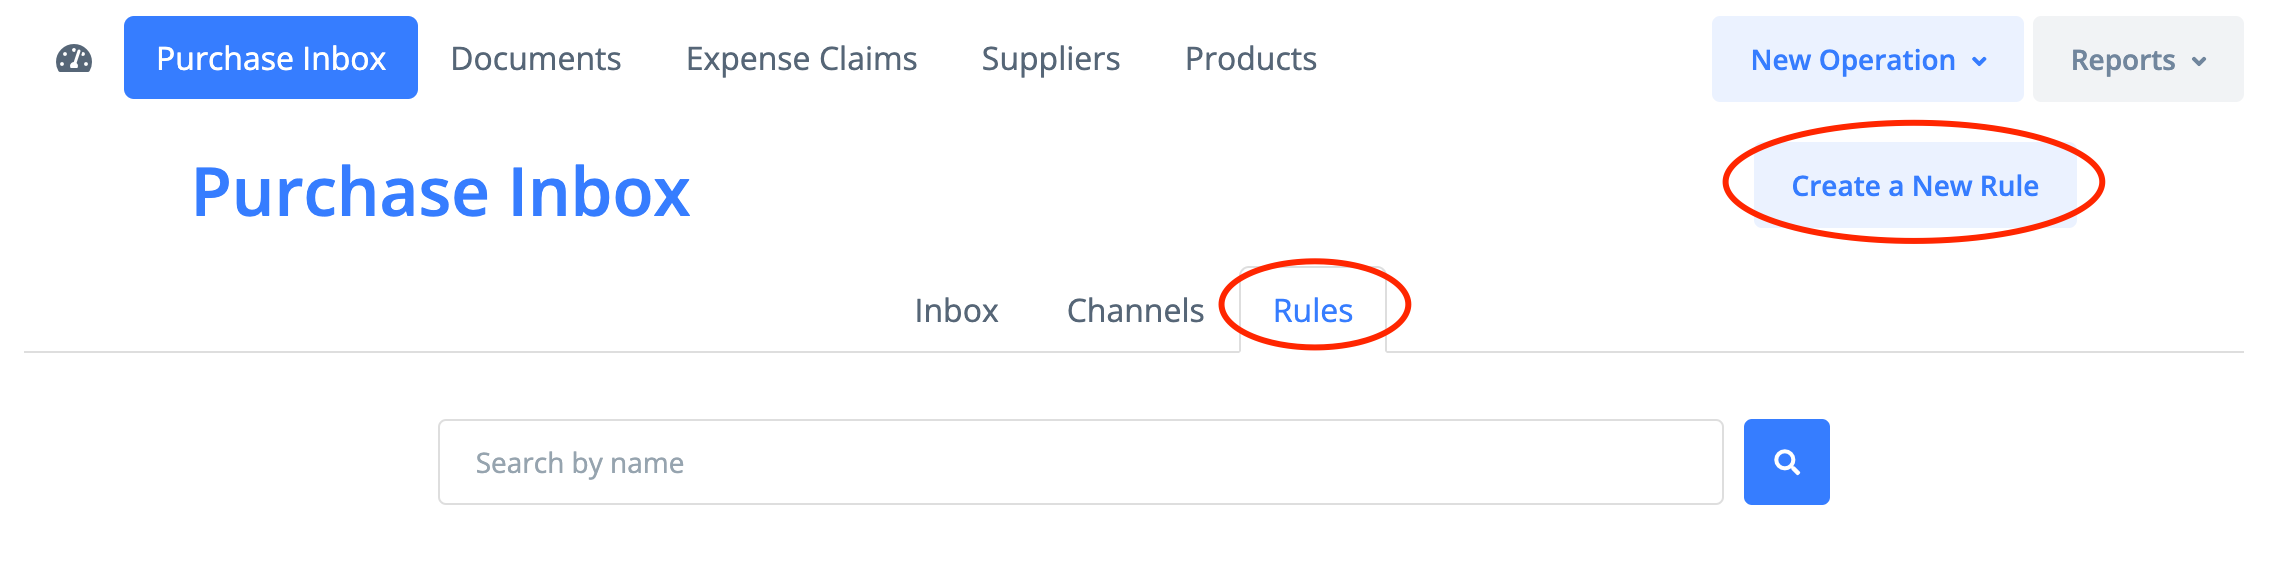
To create a new rule go to Purchase Inbox -> Rules and click on the "Create a New Rule" button.
Enter the name for the rule and select operation type. Click Continue
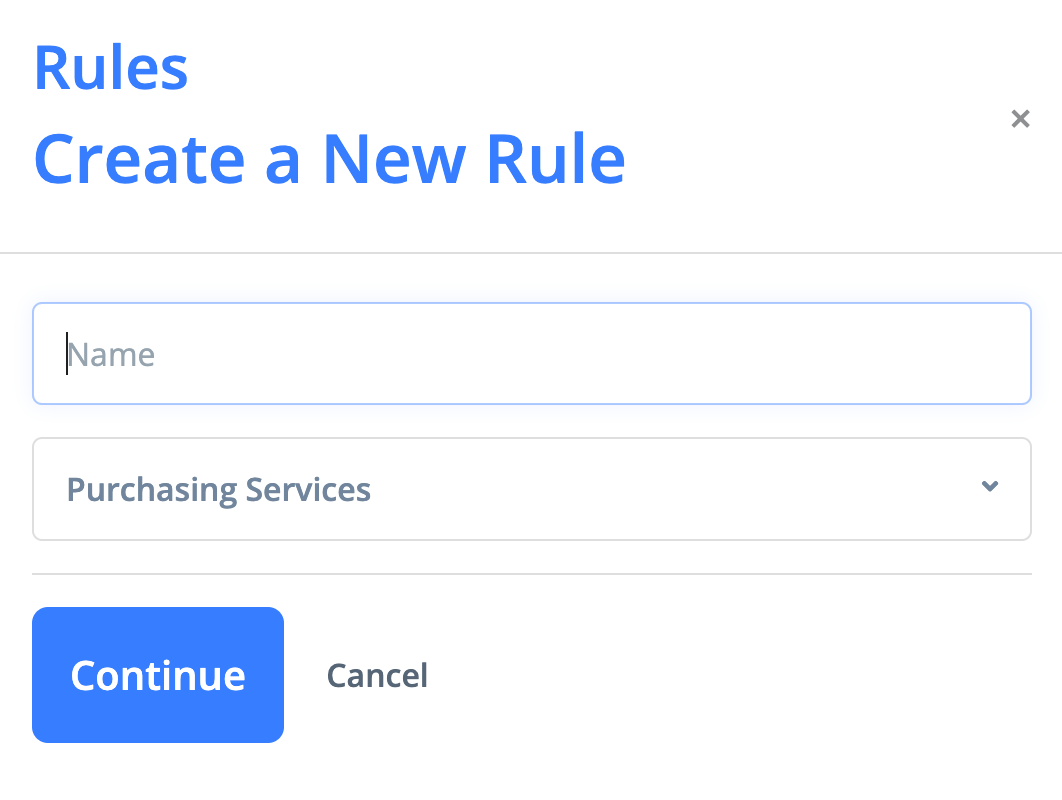
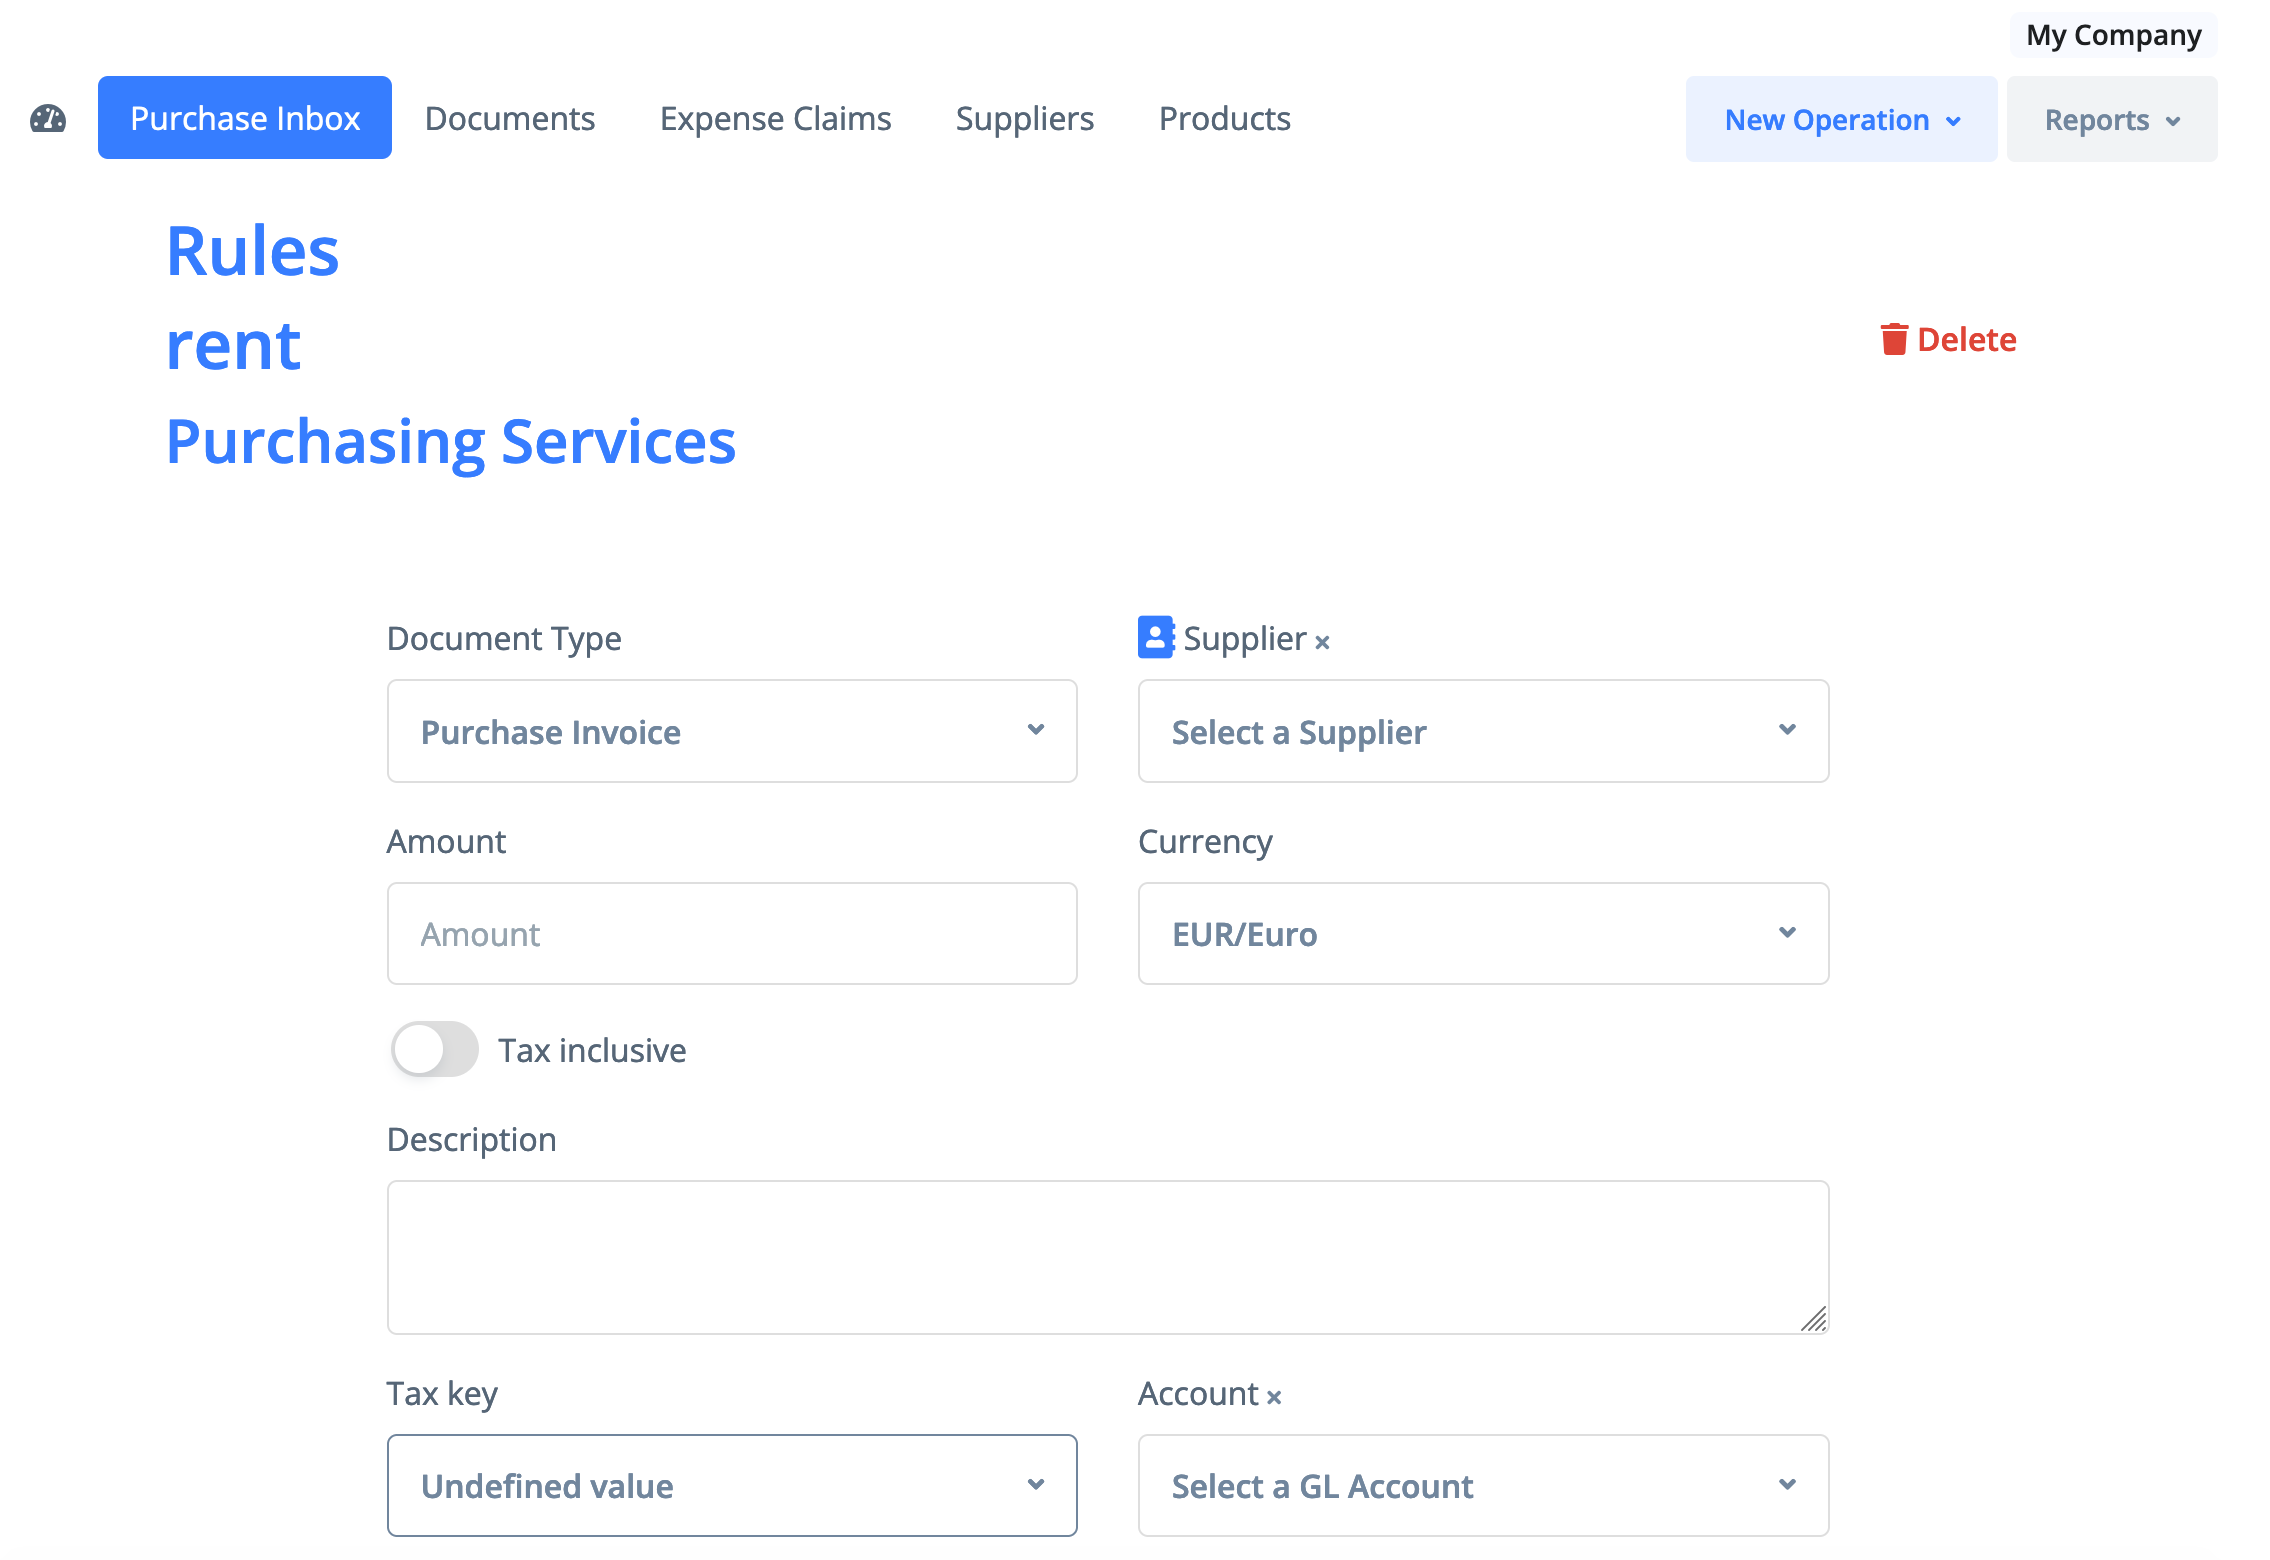
Fill out the fields for auto-completion and click on the "Change" button. The availability of the fields depends on the selected operation type from the first step. You can add any fields you need to this rule, such as supplier, expense description, sum (if it is fixed), account of expenses, and a tax key.
Inbox
Once received a message is appeared in PayTraq Inbox and is waiting for further processing.
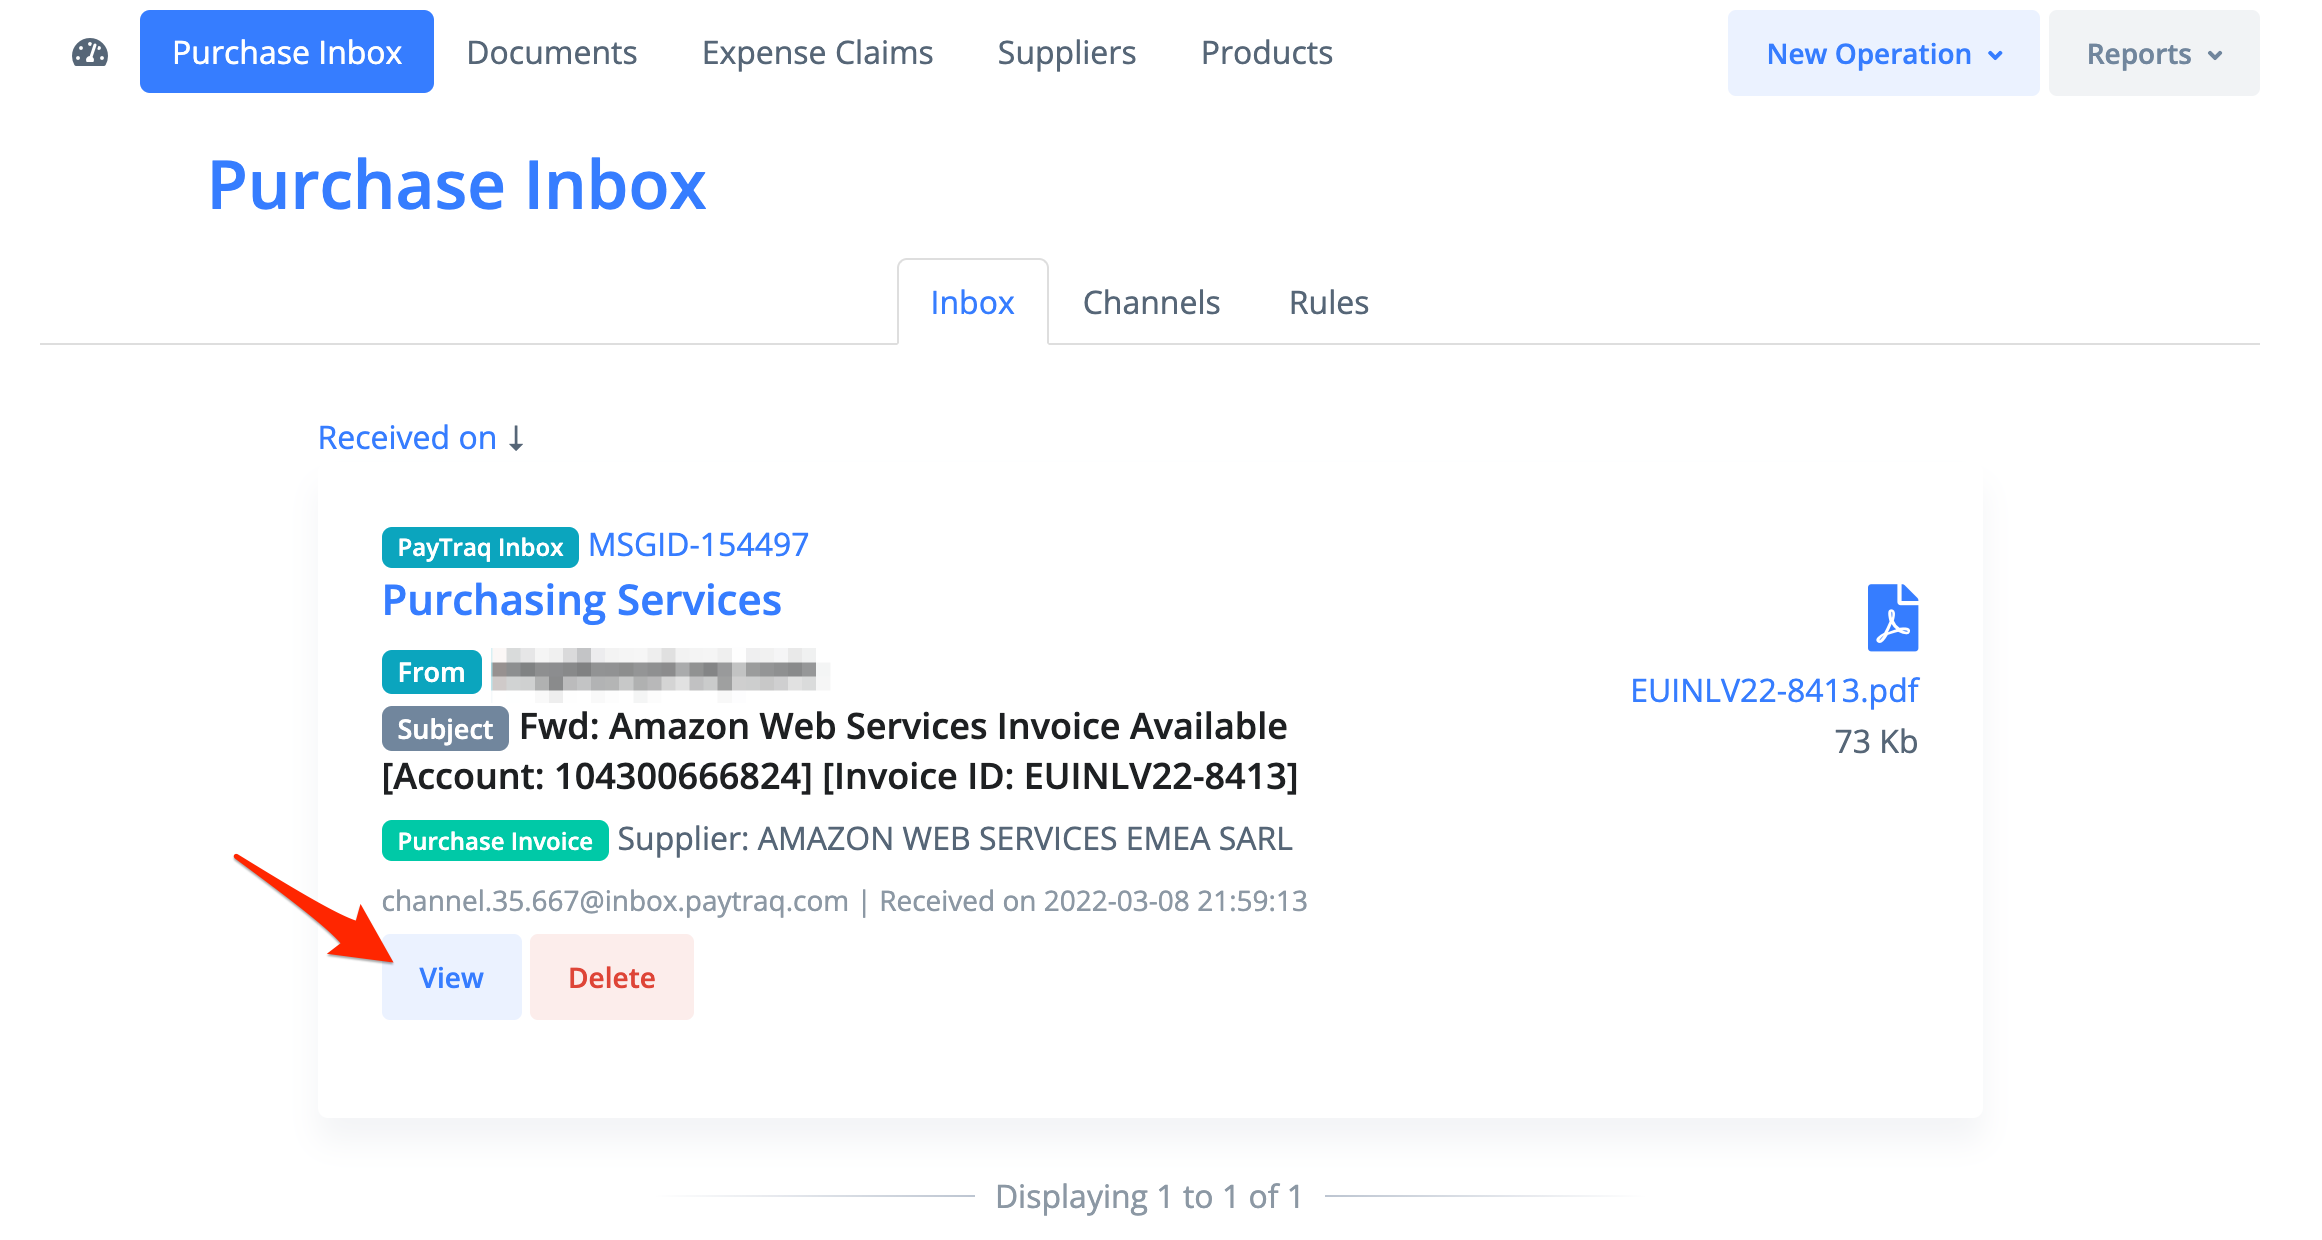
To view the message click on the View button. Now you can apply a rule to it.
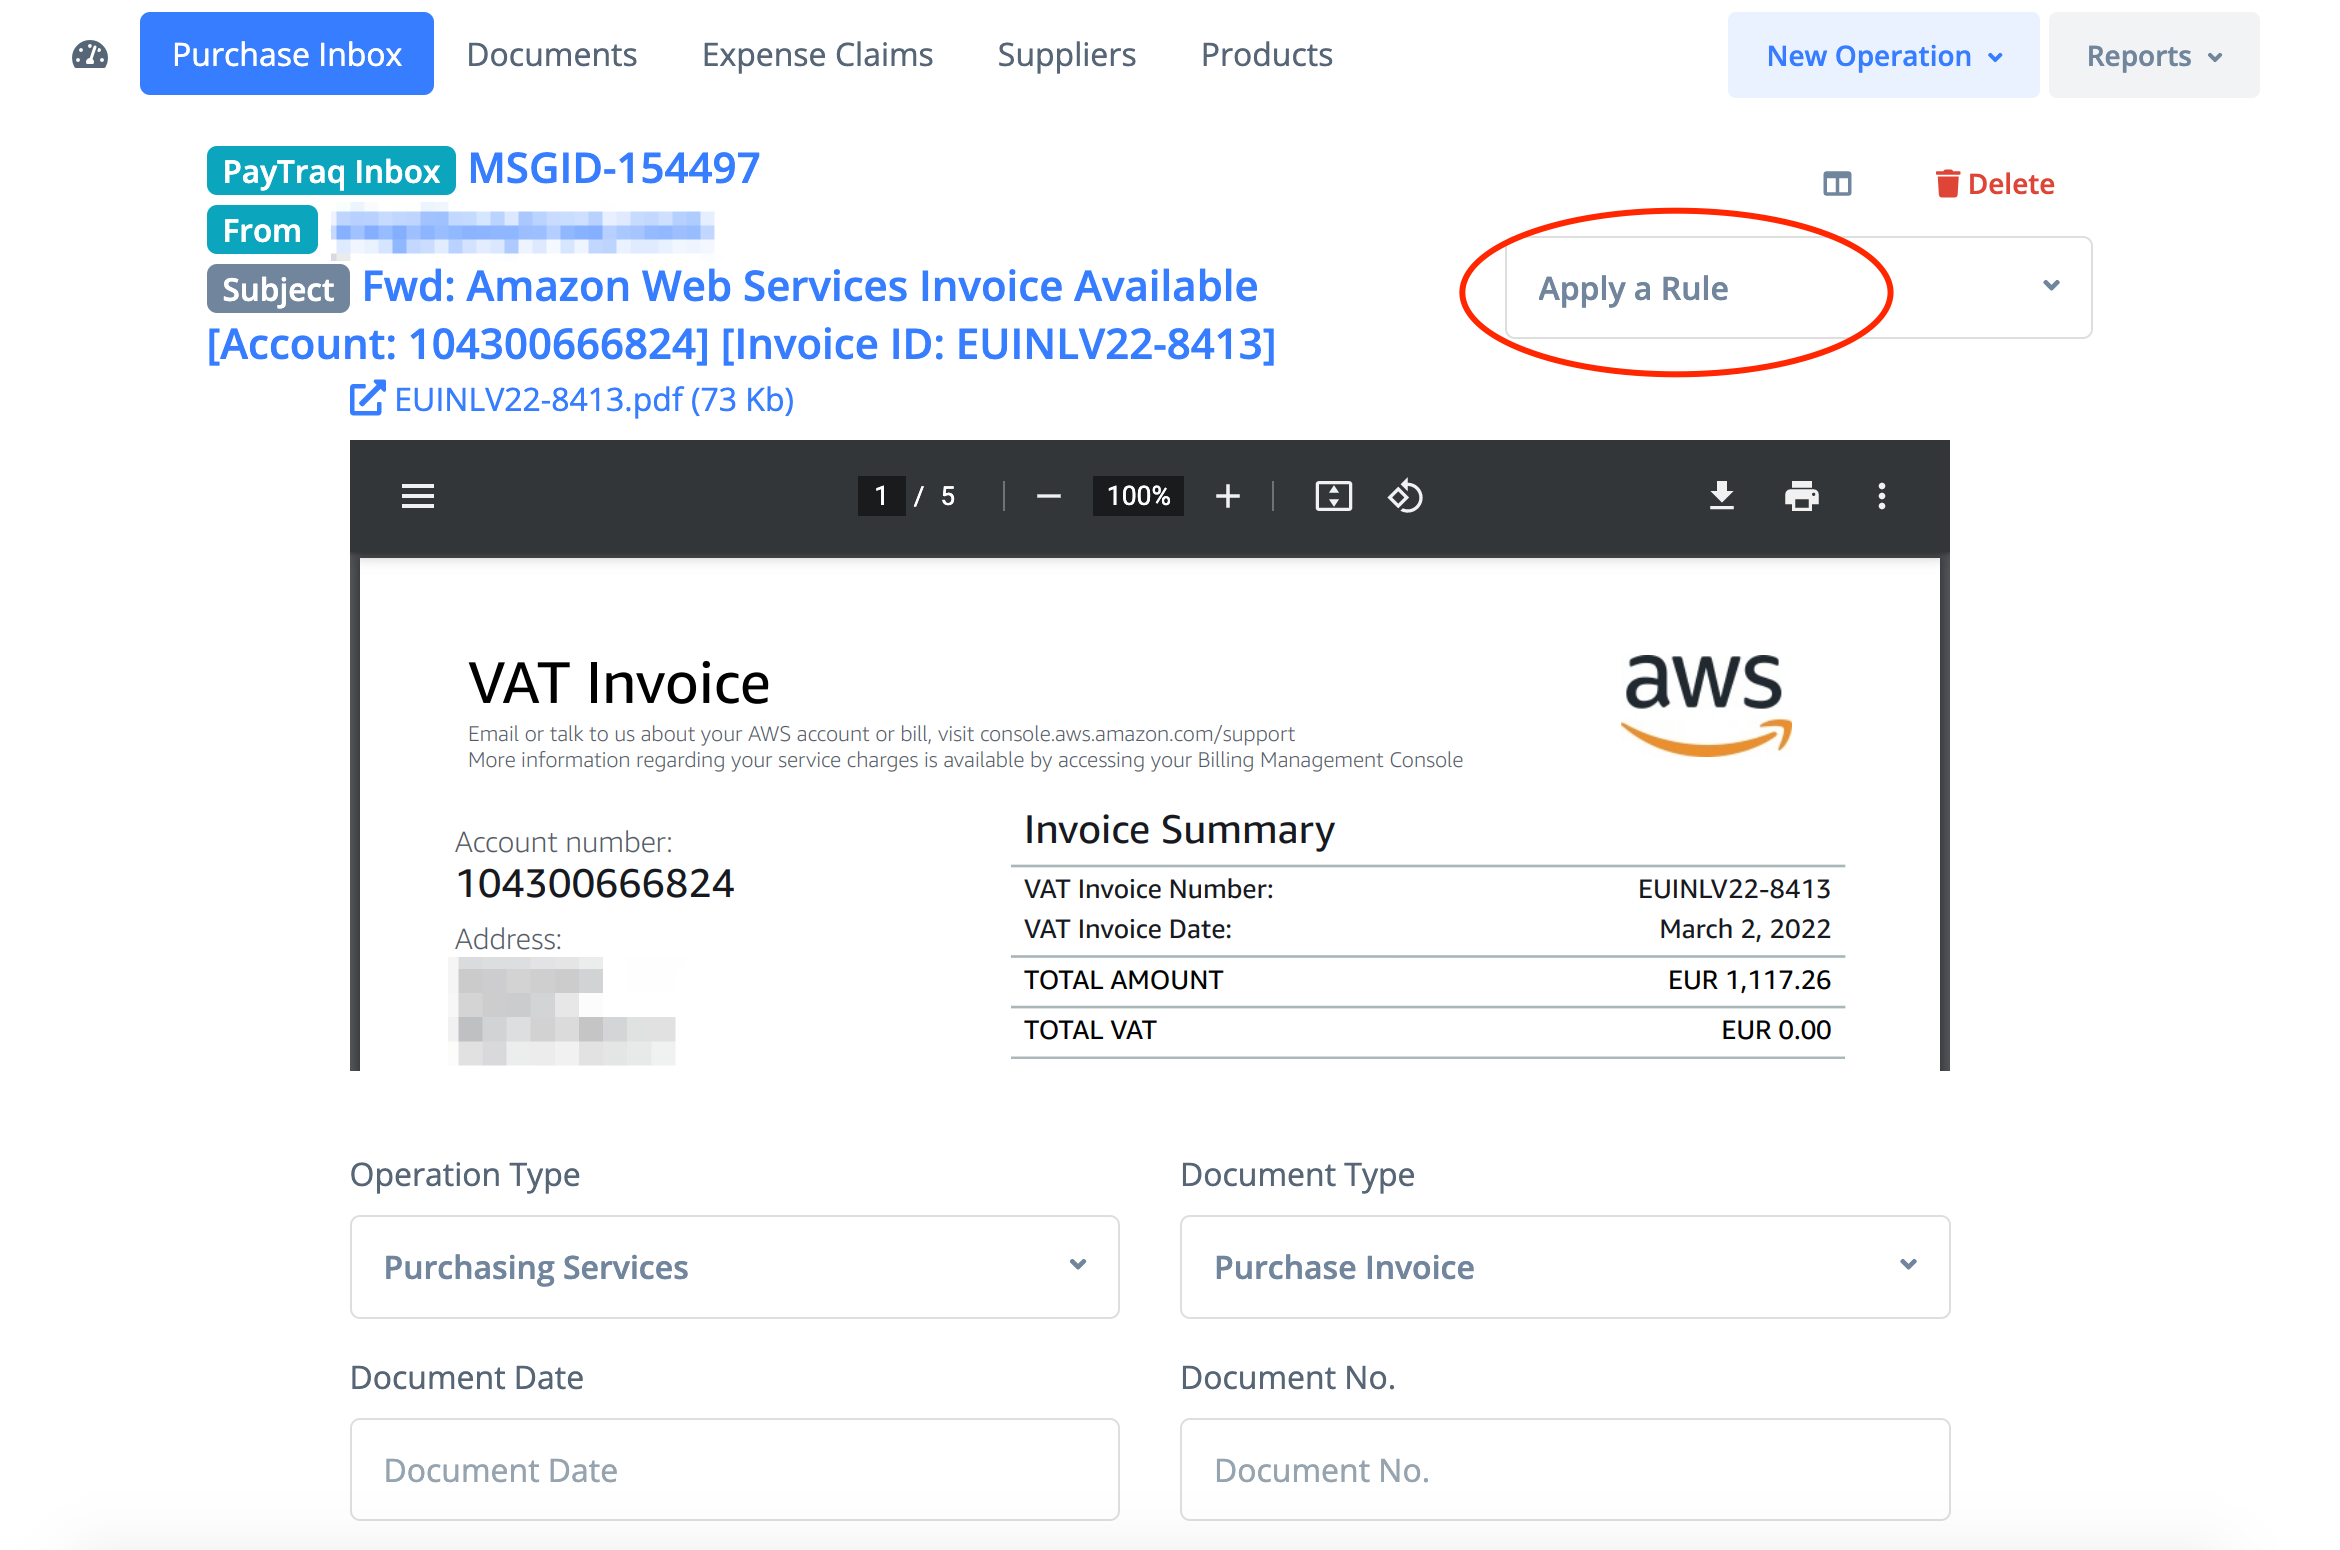
Finally to finish the processing you can click on the one of the buttons below.
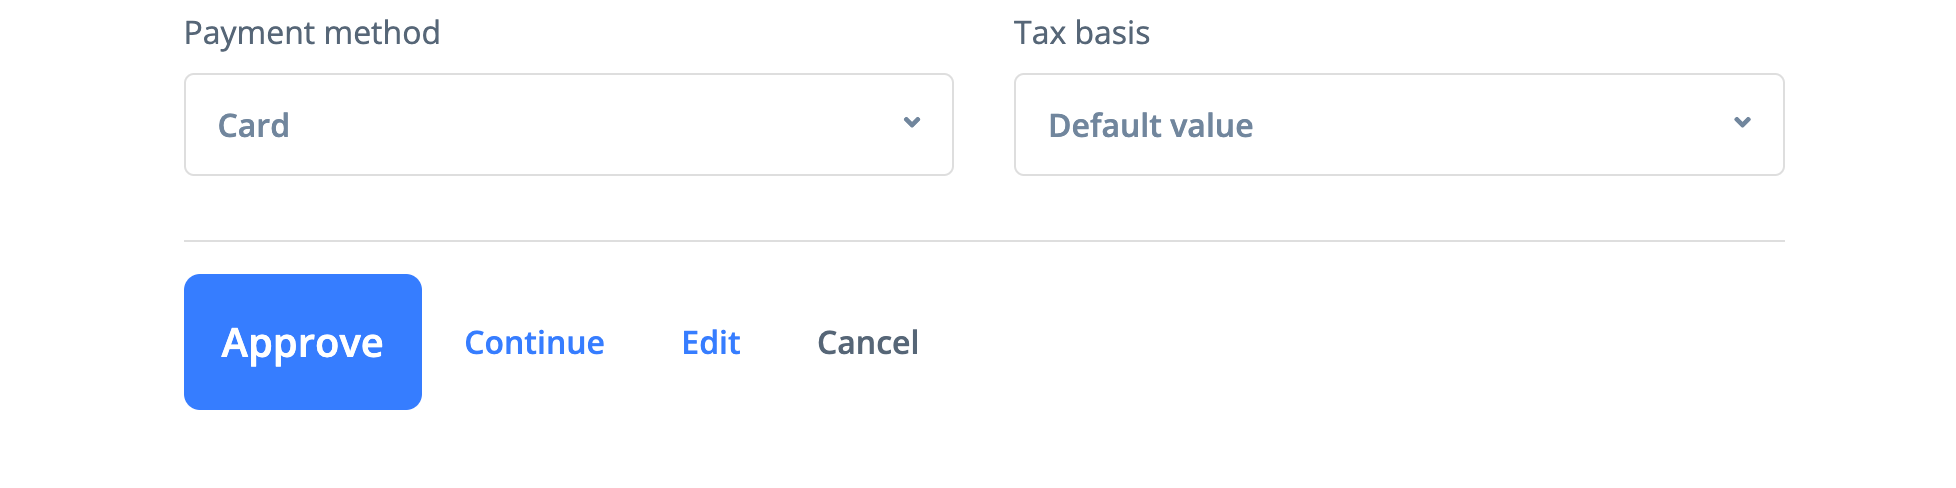
Approve will create a new purchase document and open it in the view mode.
Continue will create a new purchase document and open it in the view mode with the file preview.
Edit will create a new purchase document and open it in the edit mode with the file preview.
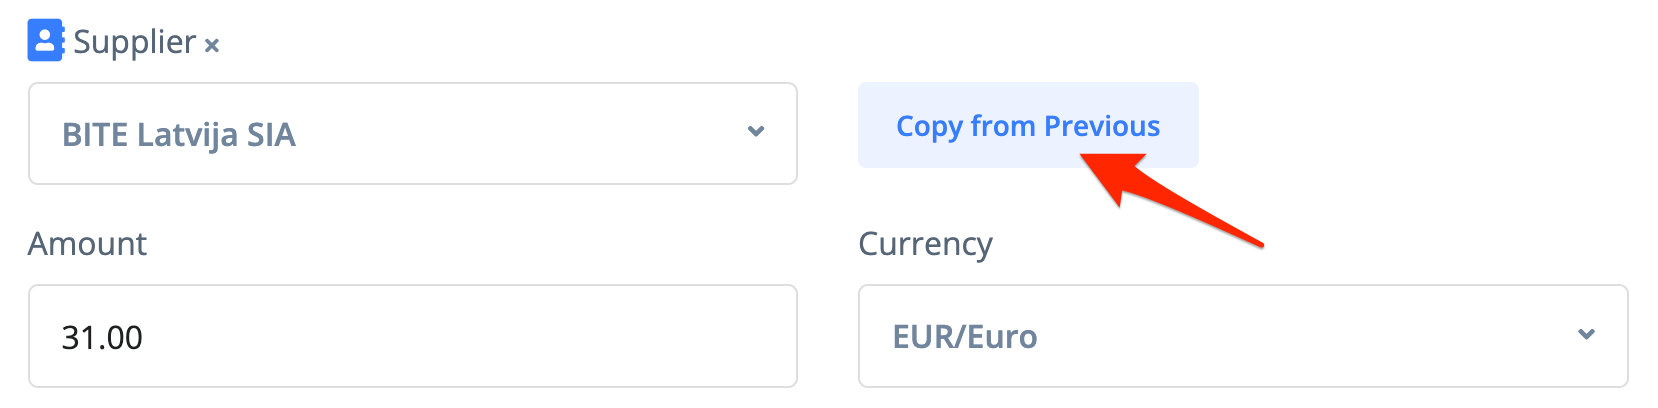
Alternatively there is also an option to create a new document by coping the previous one from the same supplier.
Data pre-processing
Certain auto-complete rules can be automatically applied to the messages sent through this channel.
To apply a rule, add #rule_name in the email body. Besides, there are a number of additional tags that can also fill in missing data or rewrite information in the fields that have already been set in the rule. Thus, for example, the @amt tag can be used for entering a total amount of a document, @nr for entering a document number, @date for entering a date. The tags can be used all together or separately, together with or without a rule, in one line or each in its line. It depends on what you need at the moment.
For instance, you receive bills for internet on a regular basis.
You can create an auto-complete rule for this bill, naming it, let’s say, "internet" and add any fields you need to this rule.
Getting another bill, all you need to do is to redirect it to your PayTraq Inbox address, adding #internet to its body.
If you want to fill in the number upon resend, add this: #internet @nr 46756282-2
To fill out the number, date and amount fields, add #internet @nr 46756282-2 @date 01.03.2015 @amt 50.99
If all of the fields are filled out, by processing this message you will need to click just one button to get your bill entered.
Also you can tie your auto-complete rule to a specific sender. That way the rule will be applied to all the messages sent from that sender’s email address. This can be useful if the messages are sent to PayTraq directly by the supplier or its representative or by the employee (in case of expense claim).
Rules application priority sequence is as follows: rule in message body –> rule assigned to sender's email address –> default rule. Anyway, all the rules applied to an incoming messages can always be reset in your Inbox.